


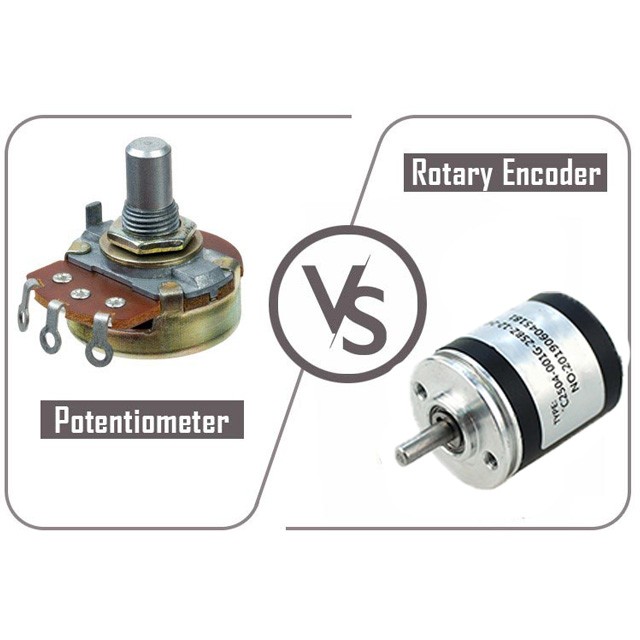
Döner enkoder nedir? Döner enkoder, dönme hareketlerinde kullanılan ve dönme açısını optik, manyetik veya mekanik yöntemlerle dahili olarak ölçen bir dijital kontrol elemanıdır. Döner enkoderler, otomatik kontrol, bilgisayar işletimi ve cihaz kontrolü gibi alanlarda yaygın olarak kullanılmaktadır. Potansiyometre nedir?

Şu anda Kuzey Amerika'da yaşıyorsanız, ev aletlerinizin çoğunun aşağıdaki gibi ETL veya UL işaretleriyle basıldığını göreceksiniz: Bu işaretlerin her ikisi de ürünün UL veya ETL ile ilgili laboratuvarlar tarafından onaylandığını kanıtlar. Peki ETL ve UL nedir? Nedir bunlar
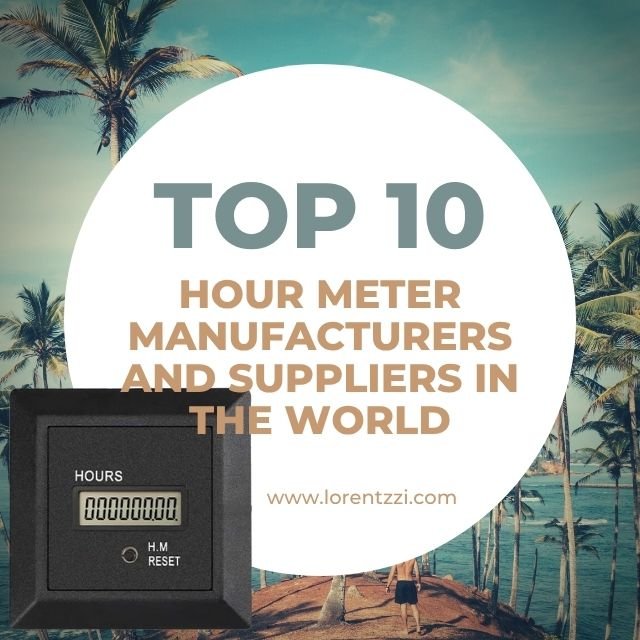
Saat sayaçları, ekipman çalışma saatlerini takip etmek için çok önemli araçlardır ve imalat, otomotiv ve tarım gibi sektörlerde bakım planlaması, garanti yönetimi ve operasyonel verimlilik için gereklidir. Şu anda güvenilir ve güvenilir bir saat ölçer ortağı ve tedarikçisi mi arıyorsunuz? Bugün, size en iyi saat sayaçlarının bir listesini